Simple Supper

Food, Recipes

Hi all,

Just a quick,  recipe for you this week which requires minimal effort for a simple, yet tasty midweek meal – gammon with roasted new potatoes, roasted tomatoes and a mustard sauce. The sharp, juicy roasted tomatoes cuts through the creamy mustard sauce, and salty gammon.

Serves 4

Ingredients

4 Gammon Steaks – I used smoked, rindless

700g (aprox.) New Potatoes – I used taste the difference vivaldi, jersey royal would be nice too.

150ml Creme Fraiche

100ml Double Cream

2tsp Whole Grain Mustard

270g pack (aprox.) Cherry Tomatoes on the Vine

Method

1. Preheat oven to 200c/180c fan and put your potatoes in a roasting tray with a drizzle of oil to coat – I used coconut oil, as I find they go lovely and soft on the inside and crispy on the outside but any cooking oil you have will do. Sprinkle with sea salt and roast in the oven for about 45 minutes until soft, and golden. Alternatively, you could boil your new potatoes and serve with a little knob of butter for a lighter alternative.

2. When the potatoes have been in for about 25 minutes, place your tomatoes in another oven proof dish, with a drizzle of oil and a sprinkle of salt and roast these for the remaining 20 minutes.

3. Mix together the creme fraiche, cream and mustard and heat on a low heat until warm in a saucepan. You don’t have to have creme fraiche if you don’t have any – I just had some in the fridge that needed using up! Keep warm until serving.

4. Heat a large frying pan, add a drizzle of oil and fry your gammon steaks for around 8 minutes, until golden and cooked. Alternatively you could grill to avoid using excess oil. At this point cook your asparagus – boil or steam. You could serve this with any veg of your choice. Green beans, or baby carrots would work well too!

5. Plate up – place a puddle of sauce on the plate, add the potatoes, gammon steak and top with the roasted tomatoes and asparagus, or veg of your choosing. Pour over any remaining sauce and enjoy!

Hope you enjoy this speedy, simple supper as much as I did! Stay tuned for next weeks post where I will be showing you a variety of dips to try out! Perfect for summer barbecues!

Enjoy, and stay tuned for next weeks recipe!

A girl with an appetite for all things creative,

Maria x

Strawberry & Passionfruit Marshmallows

Food, Recipes

To tell you the truth, i’m not really a marshmallow lover, however I wanted to take a stab at making them, and one of the trainers in the gym loves them, which meant I was winning, I got to have a go and didn’t consume the calories ( I had one or two, guilty!)

I used passion fruit essence for a strong tropical taste, and freeze dried strawberry powder. They were intensley fruity, with a pillowy, mallowy inside. This was just one experiment with regards to flavour combination, however you could experiment with your own. There are tons of different essences/extracts on the market and different freeze dried fruits etc. Check out the Meringue Girls for some flavour inspo!

Ingredients

455g/1 lb granulated sugar

1 tbsp liquid glucose

9 sheets of gelatine

2 egg whites

Icing sugar Cornflour

1/2tsp Passion Fruit Essence – I used one by Foodie Flavours

6-8tbsp Freeze dried Strawberry Powder – I used diced strawberry, and used the milling blade on my nutribullet to turn it into a powder. This way you can use it for decoration too!

Method

1. In a heavy based saucepan, bring to the boil the sugar, liquid glucose and 200ml of water. Continue cooking until the syrup reaches 127c/260F on a sugar thermometer.

2. Meanwhile, soak the gelatin leaves in 140ml of water.

3. Whisk the egg whites until stiff. When the syrup reaches temperature, add the gelatin leaves and the water it was soaking in. Be careful, as it will bubble up and will be extremely hot! This is definitley one for the adults, kiddies – stay well away!

4. Continue to beat the egg whites, whilst slowly pouring in the syrup – you can pour it into a metal jug if it is easier for you. The mixture will become glossy and start to thicken. Add the passionfruit extract.

5. Whisk for around ten minutes, or until the mixture has thickened, and can hold its shape on the whisk. Fold in the strawberry powder here. The mixture will now be a really light pastel pink shade.

6. Lightly oil, and dust a 20 by 30cm (aprox.) baking tray with a mix of icing sugar and cornflour. Pour in your marshamallow mixture, level off and top with some more strawberry pieces if you like.

IMG_0888

7. Leave for an hour to set, dust your worksurface using some more cornflour and icing sugar, turn out onto the surface and cut the marshmallow into your desired sized cubes. I cut the block into about 8 by 6 giving me around 48 pieces. Roll these in a bit of the icing sugar mix to dry up the exposed, gooey edges.

8. Serve with melted chocolate, or on their own.

Enjoy, and stay tuned for next weeks recipe!

A girl with an appetite for all things creative, Maria x

Wimbledon Strawberry & Lime Tarts

Baking, Food, Recipes

Wimbledon Tennis commences on the 29th June, and is one of the sports I love to watch, it reminds me of summer and I always admire the players’ strength and determination – they are the only person responsible for their win and I think that takes a lot of mental strength let alone the physical strength. I have always been pants at sport so I admire most sports men and women to be honest with you (also a bit jealous).

When I think of Wimbledon, I think of tennis, and strawberries, so I thought up a little creative recipe, which takes a little time and care but is well worth it. These little tarts would be perfect to pack up for a picnic to eat on Murray Mount/Henman Hill, or to have with afternoon tea whilst you celebrate the final with friends & family, although let’s be honest you don’t really need the tennis to enjoy these tarts, because they are simply divine all on their own. The lime in the strawberries makes these tarts really refreshing and cuts through the rich creamy custard, and crumbly pastry. The perfect mouthful (or three).

Ingredients

Pastry

200g Plain Flour

1 tbsp Icing Sugar

50g Lard, Diced

50g Butter, Diced

1/2-1 Medium Egg, Beaten

Strawberry Base

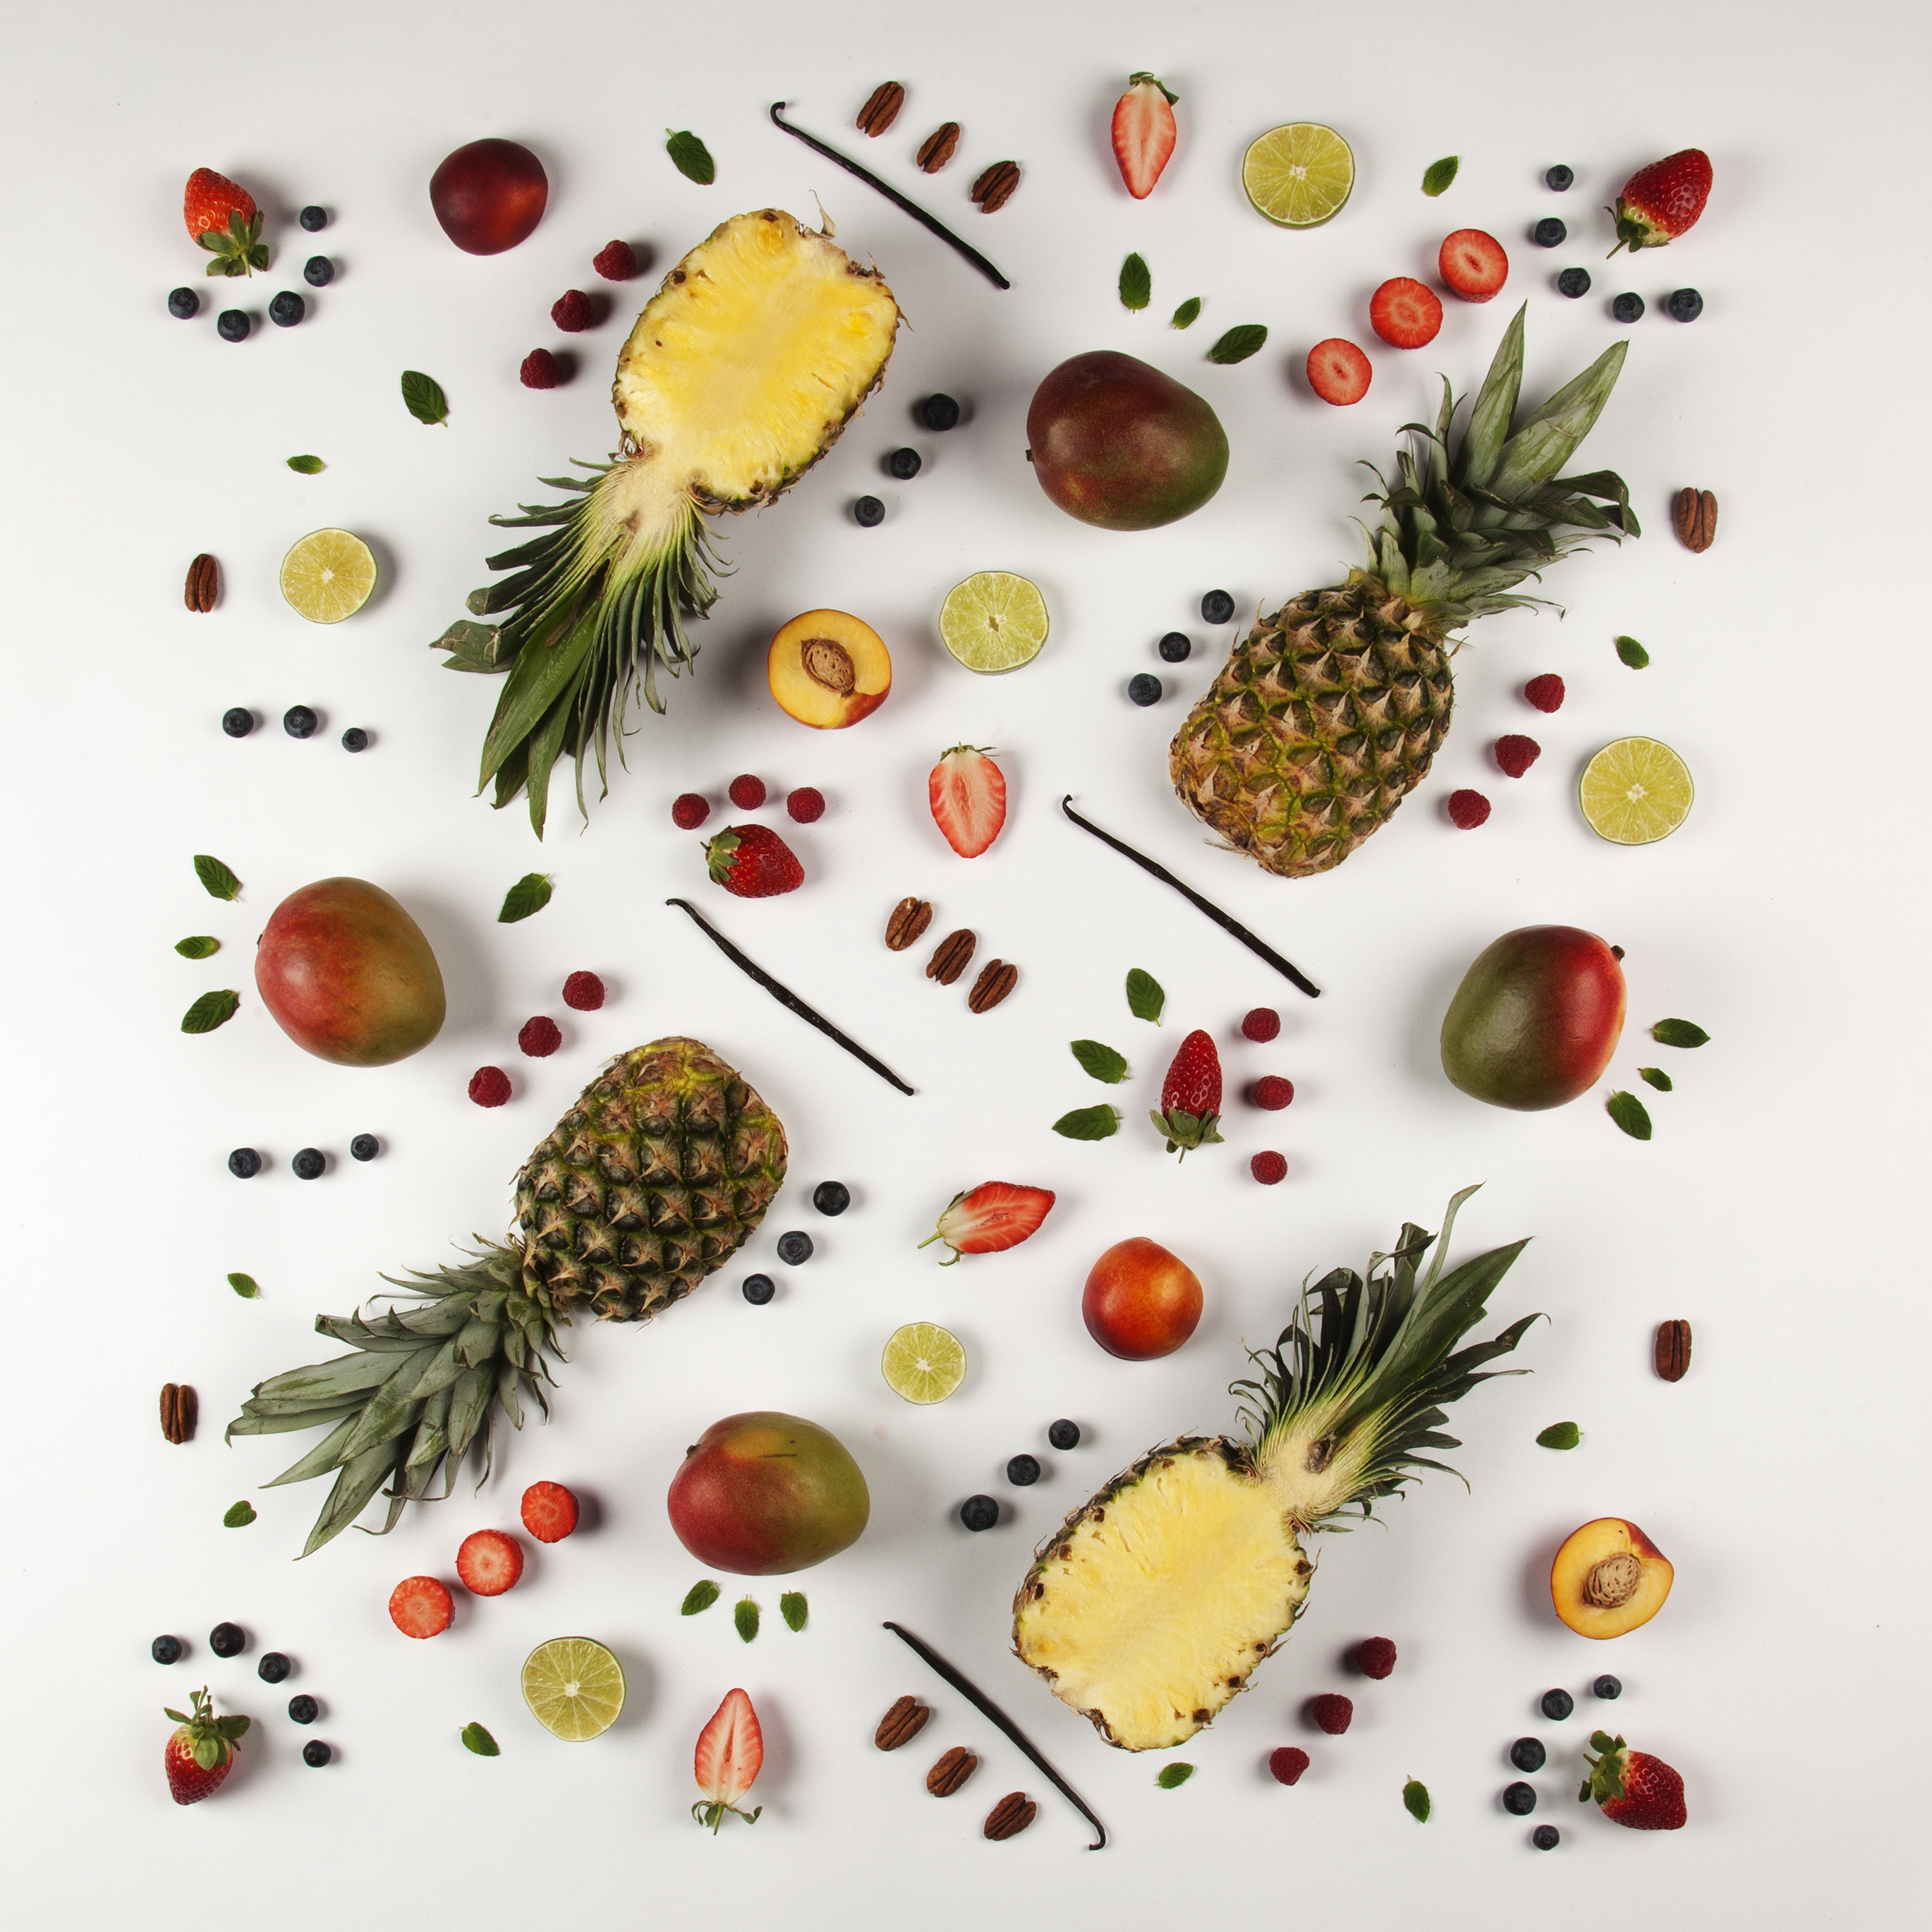
400g Strawberries, washed and diced

Zest and Juice of Half a Lime

1 tbsp Caster Sugar

Custard Topping

300ml Milk

1 Vanilla Pod/1tsp of Vanilla paste/Extract

2 Large Eggs plus 1 Egg Yolk

50g Cornflour

75g Soft Unsalted Butter, Diced

Jelly Top

1 Pack of Lime Jelly

1/2 Pint of Water

3-4 cubes of melted white chocolate

Method

You can make the jelly, custard and pastry cases the day before, and assemble when needed.

Start by making the jelly

1. Melt the jelly cubes with a bit of water in a microwave, then top up with water to create 1/2 pint of liquid.

2. Line a tin with clingfilm roughly 20  by 20 cm (but this is just a guide) then pour in the jelly mix so its roughly 1/2 cm thick. Leave this in the fridge to set.

Pastry

1. In a food processor blend together the ingredients, minus the egg to form a breadcrumb like texture, add the egg bit by bit until the mixture comes together to form a dough. Be careful not to over mix, as this will activate the gluten giving you a tough pastry. If you do not have a food processor, you can rub together the flour, sugar and fats with your finger tips, then add in the egg and knead together.

2. Wrap in cling film and leave to chill for about half an hour to allow the dough to relax.

3. Once its chilled, you can start to roll out the pastry, I do this between two sheets of clingfilm which allievates the need for extra flour and it makes much less mess. I used a 24 hole (4.5cm) petit four tin, but if you dont have this you could simply make your tarts a little bigger. Try and roll the pastry as thin as you can, it requires a delicate hand, and some patience (as I discovered) as the dough is quite fragile, but the end result is so short and delicious, almost like shortbread. I used a 7cm cutter to do this, and trimmed the edges, with a smaller cutter to neaten – this is optional, but remember to not trim too much as the pastry can shrink.

4. Fill the pastry cases with squares of non-stick paper, and fill with baking beans/rice/dried pulses and refridgerate again to rest before baking for about 15-20 minutes. At this point preheat your oven to 200c/180c fan.

Tarts

5. Bake in the oven for about 15 minutes, then remove the paper and baking beans, you can brush the insides with a little egg white left from the custard filling but this is optional. Return to the oven for another 5 minutes, until golden brown, as Mary Berry would say, we don’t want any soggy bottoms.

6. Leave to cool fully in the tin before carefully transferring to a wire rack.

Whilst the pastry is relaxing you can start the custard filling (créme mousseline)

Custard Filling

1. Bring the milk & vanilla pod just to the boil, then remove from the heat and allow to infuse for ten minutes.

2. Meanwhile, whisk together the sugar, eggs, egg yolk, and cornflour until smooth and creamy.

3. Remove the vanilla pod from the milk, then pour through a sieve onto the egg mixture, whisking well.

4. Pour this mixture back into the washed saucepan and set over a medium-low heat and stir constantly to ensure that lumps don’t form. Do this until the mixture boils and thickens – this should take about four minutes. The mixture should be thick enough to pipe. Stir in the butter whilst still warm.

5. Transfer to a bowl, and cover the custard directly (so that it touches the custard) with clingfilm, to stop a skin forming, leave to cool then refridgerate until needed.

Strawberries

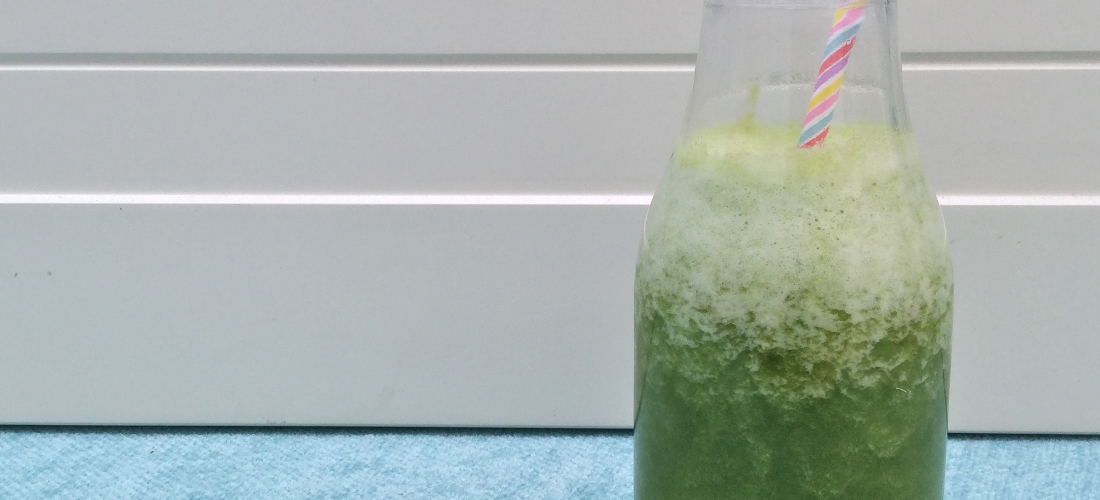
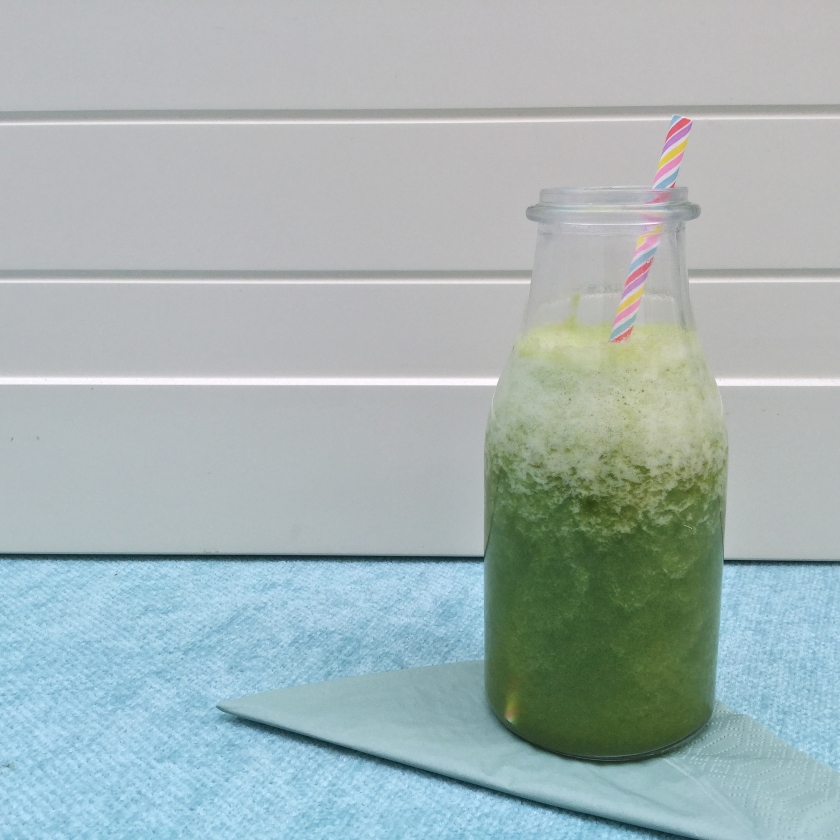
1. In a bowl, add the diced strawberries, lime zest and juice and sugar, stir and refridgerate until needed. With the other half of the lime why not make my Green Twister  Smoothie.

Assembly

Now all of the constituent parts are ready, comes the fun bit – the assembly.

1. Simply take half a teaspoon of the strawberries and fill each tart case – the strawberries would have created some liquid, try and avoid filling the cases with lots of liquid as the pastry will go soggy.

2. Pipe over the top the custard filling, you may want to give it a beat to loosen it after its firmed up in the refrigerator. If you don’t have a piping bag, you can use a teaspoon and spoon a bit in each one to fill the cases nearly to the top.

3. I then cut the jelly using a 3.5cm cutter and piped on a swirl of white chocolate, and topped the tarts with this. This bit is optional, but completes the tennis theme.

There you have it, 24 delicous tarts – don’t worry if some break, mine did too – just use the bits of pastry with some of the left over custard and call it cooks perks! I know this recipe is quite long, and contains a few different parts, but I promise you these are well worth the effort!

Let me know what you think, I hope you enjoy them as much as I, and my family did.

A girl with an appetite for all things creative,

Maria x

Green Twister Smoothie

Food, Recipes

I’m a lover of sweet bakes and indulgent treats, but I do love creating and eating healthy food too, which is full of nourishing goodness for our bodies, to keep us fit and healthy. If we do this, it means we can enjoy the occasional naughty treat … right?!

So as well as trying some of my more indulgent recipes, how about try this super quick green smoothie recipe. It is super refreshing, as it doesn’t contain milk, so its good for any one with a dairy intolerance. It tastes like the refreshing twister lollies I used to have as a kid, but who am I kidding, I am never too old for a twister lolly!

You’ll need a high power blender to make this recipe – I used a NutriBullet, but a stick blender would also be fine.

Ingredients

1/2 small pineapple – I find this smoothie tastes better made with frozen pineapple, it seems sweeter and more refreshing, but isn’t essential, you could cool the smoothie in the fridge or with some ice.

1cm piece of ginger, peeled (aprox.)

Large handful of spinach leaves

Juice of 1/2 a lime

150 ml of water (or enough to create your desired consistency) you could also try using other waters like coconut water.

Method

1. Place all of the ingredients into a blender and blend until smooth.

2. Serve and enjoy, it really couldn’t be simpler.

This really makes me feel good on the inside, it wakes me up and refreshes me. The ginger adds a spicy note, while the pineapple adds the sweet hit we all crave, and the lime adds a sour, refreshing hit. Ginger has health benefits such as aiding digestive problems, nausea, pain reduction and has anti-inflammatory qualities. You could also add a tablespoon of flax seed to this smoothie for added fibre, and nutritional value.

Green Smoothie 1

Hope you enjoy this as much as I do, and don’t let the colour put you off.
A girl with an appetite for all things creative,

Maria x

Rhubarb & Custard Ice Cream

Baking, Food, Recipes

My mum receives an organic fruit and veggie box every week packed full of seasonal goodies from the wonderful people at Abel & Cole, who like me are lovers of collaboration. We received some organic rhubarb and some strawberries in our box and I thought to my self that summer is finally upon us, despite the weather taking a bit of a turn at the start of June. What better way to kick off the season than with some homemade ice cream, indulgent and luxurious. This flavour is a classic combination that some may remember from childhood boiled sweets.

How about serving it with some mini meringue kisses, (a great way of using up the egg whites) and some strawberries marinated in Amaretto liquor, a twist on the classic Eton mess or why not add some jelly, to make an adult version of a child’s favourite – knicker bocker glory.

There are a few different stages to this recipe, and a fair few ingredients, but please don’t be put off as the stages can be made in advance and refrigerated, ready for assembly the next day.

Serves 4-6

Ingredients

Ice Cream Base

300ml Milk

100g Granulated Sugar

3 Egg Yolks

1tsp Vanilla Bean Paste/Extract or 1 Vanilla Pod

500g tub Mascarpone Cheese

140ml Double Cream

Rhubarb Compote – Adapted from a Waitrose Recipe

Aprox. 400g Rhubarb (about 1 pack/bunch)

1 Vanilla pod, split / Vanilla Bean Paste/Extract

2tbsp Maple Syrup

60g Light Brown Sugar

2 Clementines, or a Splash of Orange Juice

1/2 tsp Ground Cinnamon, or 1 Cinnamon Stick

Meringues – Meringue Girls Recipe

Marinated Strawberries

400g Punnet of British Strawberries

1tbsp Maple Syrup or Caster Sugar

1tbsp Amaretto Liquor

Method

Start by making the Rhubarb Compote

1. Preheat the oven to 200 degrees c and chop the rhubarb into sticks roughly 6-7cm long.

2. Place the rhubarb, vanilla, spices, sugar and clementines (peeled and sliced/or the juice) in an oven proof dish.

3. Cover with foil and place in the oven to bake for 15 minutes, then uncover and baste with the maple syrup and cook uncovered for another 10 minutes or until the rhubarb in tender.

4. Leave to cool, then remove the vanilla pod and cinnamon stick before blending to a smooth puree. Set aside in the fridge.

Next, prepare the Ice Cream Base

1. Combine the milk, vanilla and half the sugar in a saucepan and bring to just below boiling point. Remove the pan from the heat, and set aside for about 15 minutes to infuse the vanilla into the milk.

2. In a heatproof bowl, whisk together the egg yolks with the rest of the sugar and beat until thick and pale. It’s best to use an electric whisk for this, but if you don’t have one just use a little elbow grease – think of all the calories you’ll save, ha!

3. Bring the milk back to the boil, then slowly pour the milk into the egg mixture, ensuring to whisk steadily as the milk is added – we don’t want to end up with scrambled eggs.

4. This bowl can either be placed over a bowl of simmering water, or you can return the custard to the saucepan. If you are going to use the second option, ensure the pan is on a heat diffuser and use a thermometer to ensure you do not overheat the custard. Use a wooden spoon, or spatula to continually stir the custard untill it reaches 85 degrees c, or is thicker in consistency. It should coat the back of the spoon, and hold its shape when you run your finger through it.

5. Pour into a bowl and cover directly with cling film to stop a film forming, and then once cool refrigerate.

6. Once cool, beat the mascarpone, to loosen it and then beat in the custard mixture, along with the double cream. The mascarpone gives the ice cream a luxuriously thick and creamy texture, but you can substitute this for a 300ml carton of double cream instead if you want to (instead of the mascarpone and additional double cream).

7. This is ready to be poured into an ice cream maker, until it is thick and luxurious. If you do not have an ice cream maker you could try pouring it into a tub, freezing and churn it by hand every half hour/to an hour to break up the ice crystals. However, for best results use an ice cream maker, as the hand method will result in a less smooth result.

8. Once the ice cream is set, marble through 3/4 of the rhubarb puree. We will use the other 1/4 to drizzle over the ice cream later. Pour in a tub, and leave to firm up in the freezer.

Marinated Strawberries

1. Hull and quarter the strawberries, and add to a bowl.

2. Spoon over the maple syrup or sugar and add the liquor, mix together and set aside in the fridge, until ready to serve. If you are making this for children, you can leave the liquor out.

Assemble 2-3 scoops of ice cream, a spoonful of strawberries, a few meringues and jelly if you so wish and top with a little of the left over compote, and enjoy.

Rhubarb &Custard

A girl with an appetite for all things creative,

Maria x

Monochromatic Patterns

Food, Photography

A series of images featuring intricate patterns produced by the organic shapes, textures and characters of natural foods, showcasing their unique qualities. Created in the darkroom using the camera-less technique of photograms, the images emphasize the relationship between analogue and digital methods and highlight the importance of both, that one could not be made without the other.

The series stems from my passion for food and cooking and aims to excite visually in the same way that food stimulates our senses – sight, taste, smell and sound.

See my website for more in this series.

A girl with an appetite for all things creative,

Maria x

Rhubarb & Clementine Compote

Food, Photography

This is my fourth image for one of my third year university projects. I plan on creating more in future but for now am focussing on other projects.

This image was inspired by a really beautiful rhubarb compote from the waitress magazine, which I cooked with the left over ingredients after my shoot. I personally don’t like the texture of rhubarb, so I blended the compote and served it with yoghurt and muesli, or ate it straight from the fridge with a spoon. I love it this way it’s so delicious. don’t forget, you can put the left over vanilla pod in some caster sugar. Just give it a rinse and pop it in a jar of sugar to flavour it.

Rhubarb

Hope you like it, see my website for more of my photography work.

www.mariablackstone.co.uk

A girl with an appetite for all things creative,
Maria x

Blood Orange & Beetroot Salad

Food, Photography

This is the third in a growing photography series inspired by recipes, which I then deconstruct, arrange and photograph. This particular image was inspired by an Abel & Cole recipe for a beautiful blood orange and beetroot salad. Blood oranges are beautiful at this time of year. I made the recipe, with a few of my own additions to use up left overs (roast chicken and chorizo, avocado etc) and can say it was super tasty indeed.

Blood Orange & Beetroot

See my website for further information on this series, and my other work.

www.mariablackstone.co.uk and don’t hesitate to get in touch if you’d like to purchase any prints.

A girl with an appetite for all things creative,
Maria x

Summer Fruits, with a mint, lime and vanilla syrup.

Food, Photography

Here is the second image in a growing series to accompany the Lentil Curry I posted about at the end of January. This image was inspired by a Jamie Oliver recipe, which I adapted slightly. I plan on creating my own version, and serving it with a homemade vanilla ice-cream, and a pecan praline. Again, I will test this and post up the results for you to try soon.

I will continue to post these images as I create them. I am currently trying to juggle keeping this blog, applying for graduate jobs and producing my university work.

Fruit Salad

My photography work and more information on this series will be updated on my new website http://www.mariablackstone.co.uk and please get in touch if you would like to purchase prints.

A girl with an appetite for all things creative,
Maria x