Easter may have come and gone but this recipe is perfect to use up those mini eggs and indulge just once more before we get back to working on our summer bodies! Easter is usually all about chocolate, and don’t get me wrong I LOVE chocolate, but the Creme Egg brownies have been done so I wanted to go down a different route. Easter is also about spring, yellow is the colour that comes to mind for me – daffodils, tulips and Easter chicks!
These cupcakes are inspired by the humble dippy egg, seeing as Easter is all about eggs! They have a surprise centre. A delicious, tangy lemon and passion fruit curd, that ooze like a dippy egg when cut, or bitten in to. There are a few parts to the recipe, but these can be made the day before, and assembled the next day. After all holidays are about being relaxed and fun, so why not get in your kitchen and have a go.
Makes 12
Ingredients
Sponge
6oz butter/margarine
6oz caster sugar
3 eggs
6oz self raising flour
Tsp lemon extract
Lemon curd
I only used half for this recipe, but why not serve the rest with some meringues and cream, or spread on toast?
Zest and juice of 2 lemons
65g sugar
90g butter
4 egg yolks
Pinch of salt
4 passion fruits
Frosting
100g White Chocolate
140ml double cream (I used half an elmlea carton)
Method
Lemon Curd
1. Add the zest, juice, butter, sugar and salt in a small saucepan, and heat gently until the butter has melted and the sugar has dissolved.
2. Meanwhile whisk the egg yolks in a bowl, once the mixture in the pan has melted I added this to the egg yolks and whisked. How about making some Easter chick meringues with the left over egg whites?
3. Add this back to the saucepan and whisk continuously on a low heat until thickened, and bubbles start to appear. Ensure you whisk all the time, otherwise you’ll end up with scrambled egg!
4. Pour this into a heatproof bowl, and cover with cling film, making sure the film touches the curd directly, to stop a skin forming. Once cool enough refrigerate.
5. Once cool, scoop the flesh of four passion fruits and stir into the curd, set this aside in the fridge until ready to use.
Frosting
1. Melt the white chocolate, you can either do this in a bowl over a pan of simmering water, or in a microwave. If using a microwave, ensure you don’t burn the chocolate as it has a high sugar content.
2. Add the cream to the chocolate and using an electric whisk (or a hand whisk and some muscle) whisk the mixture till light and fluffy. It should be thick enough to resemble a light buttercream. Be careful not to over whisk, otherwise the cream will split.
3. Set aside in the fridge until ready to assemble.
Sponges
1. Preheat the oven to 180 or 160 fan and line a 12 hole cupcake pan with 12 cases.
2. I used a kitchen aid, but you can use an electric whisk or do it by hand. Beat the butter and sugar until pale and creamy.
3. Add the eggs one at a time, beating in between to ensure each egg is encorporated to avoid curdling. If it curdles, add some flour and continue. Mix in the lemon extract at this point. I used a Sainsburys taste the difference one.
4. Add the flour, and mix enough to encorporate all the flour, but don’t over mix other wise your cakes will be tough.
5. Spoon the mixture into the cases, and bake for around 20-25 minutes or until light and springy, and a skewer comes out clean.
6. Remove from the oven and allow to cool completely.
Assembly
1. Using an apple corer, or a knife cut out a hole in the centre of each cake. The deeper the more lemon curd you can fit in! Yummy!
2. Fill the holes with the curd, you can use a piping bag or a teaspoon. I found the curd was fairly runny, so using a teaspoon was easier than a piping bag.
3. Top the cakes with a spoonful of the frosting, and smooth over with a pallette knife. I aimed for a dome, to look a bit like an egg shape.
4. Top with freeze dried raspberries, and mini eggs. However, you can top with whatever you like. This for me is what baking is about! I like the tang of the dried raspberries, but you could top with a little fresh passion fruit, some flakes of white chocolate or whatever you fancy!
Check my other post for instructions on how to make the Easter chick meringues, 🐥🐣.
I hope you get in the kitchen and have a go at these, it seems complicated, but if you take it in steps its achievable and you can impress all your friends. Feel free to send me pictures of your bakes!
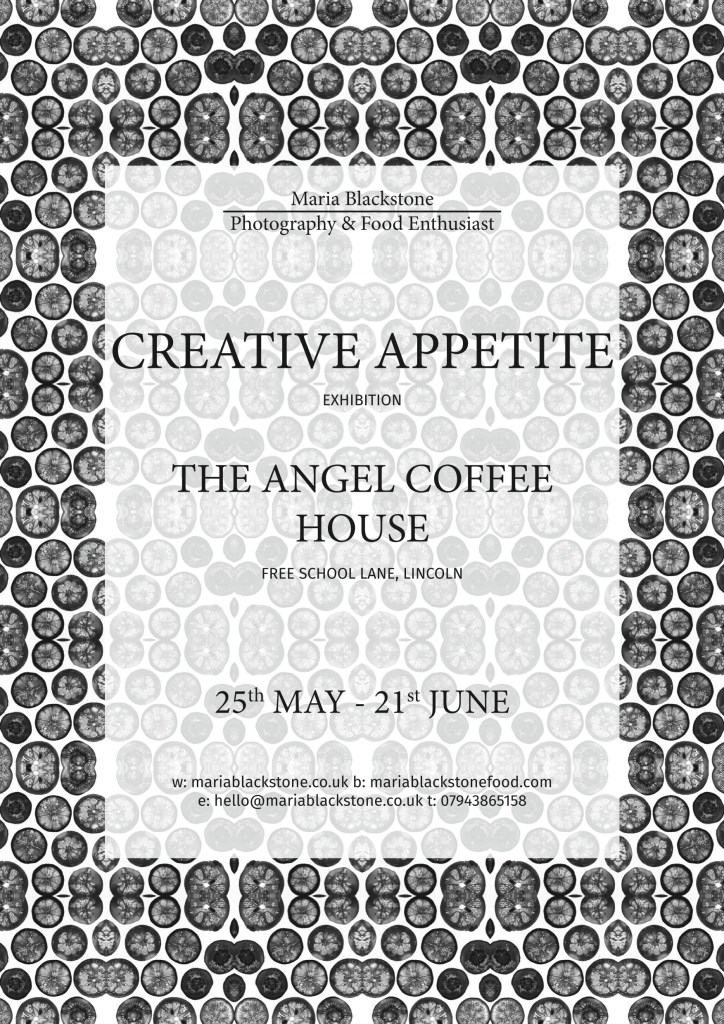
A girl with an appetite for all things creative,
Maria x