Lentil, Feta & Beetroot Salad

Food, Recipes

Hello lovely readers,

Apologies for the delayed post. This week has been hectic for me and a lot of exciting/scary stuff is happening. I will try and design a recipe card for you all for this recipe if I get the chance over the weekend. But for now I will just type up the recipe here! After my moaning and tears, I secured myself a job at a Sainsbury’s Local for the weekends, fairly ok hours to bring some money in. Funds are running very low, but I’m impressed I’ve managed to last this long on Student Finance, thanks government. I better start saving for Christmas, because X Factor starts this weekend, which only means one thing… it will be Christmas before we know it. Exciting bit of news #1.

Exciting news #2 is that on Wednesday I went for an interview for a digital marketing internship for a foodie website. This was positive, and before even getting the chance to get home, I got a call saying I had been successful. I start on Tuesday, and it will last 3 months. It may give me some useful tips on how to improve my blog, and social media pages to really push this forward. I am excited but super scared about going into something that I know little about. I’m scared about working 7 days a week and the thought of being super tired but it will be worth it in the end, something good for my CV, and to learn new skills in order to progress in the future. I will still try and post to my blog but may struggle with this so please don’t hate me forever if I don’t always get something posted!

This weeks recipe is another healthy, tasty salad dish. A lentil, feta and beetroot salad perfect served with some chicken for a light, nutritious lunch or dinner. Would also be tasty served with some griddled halloumi for a veggie option.
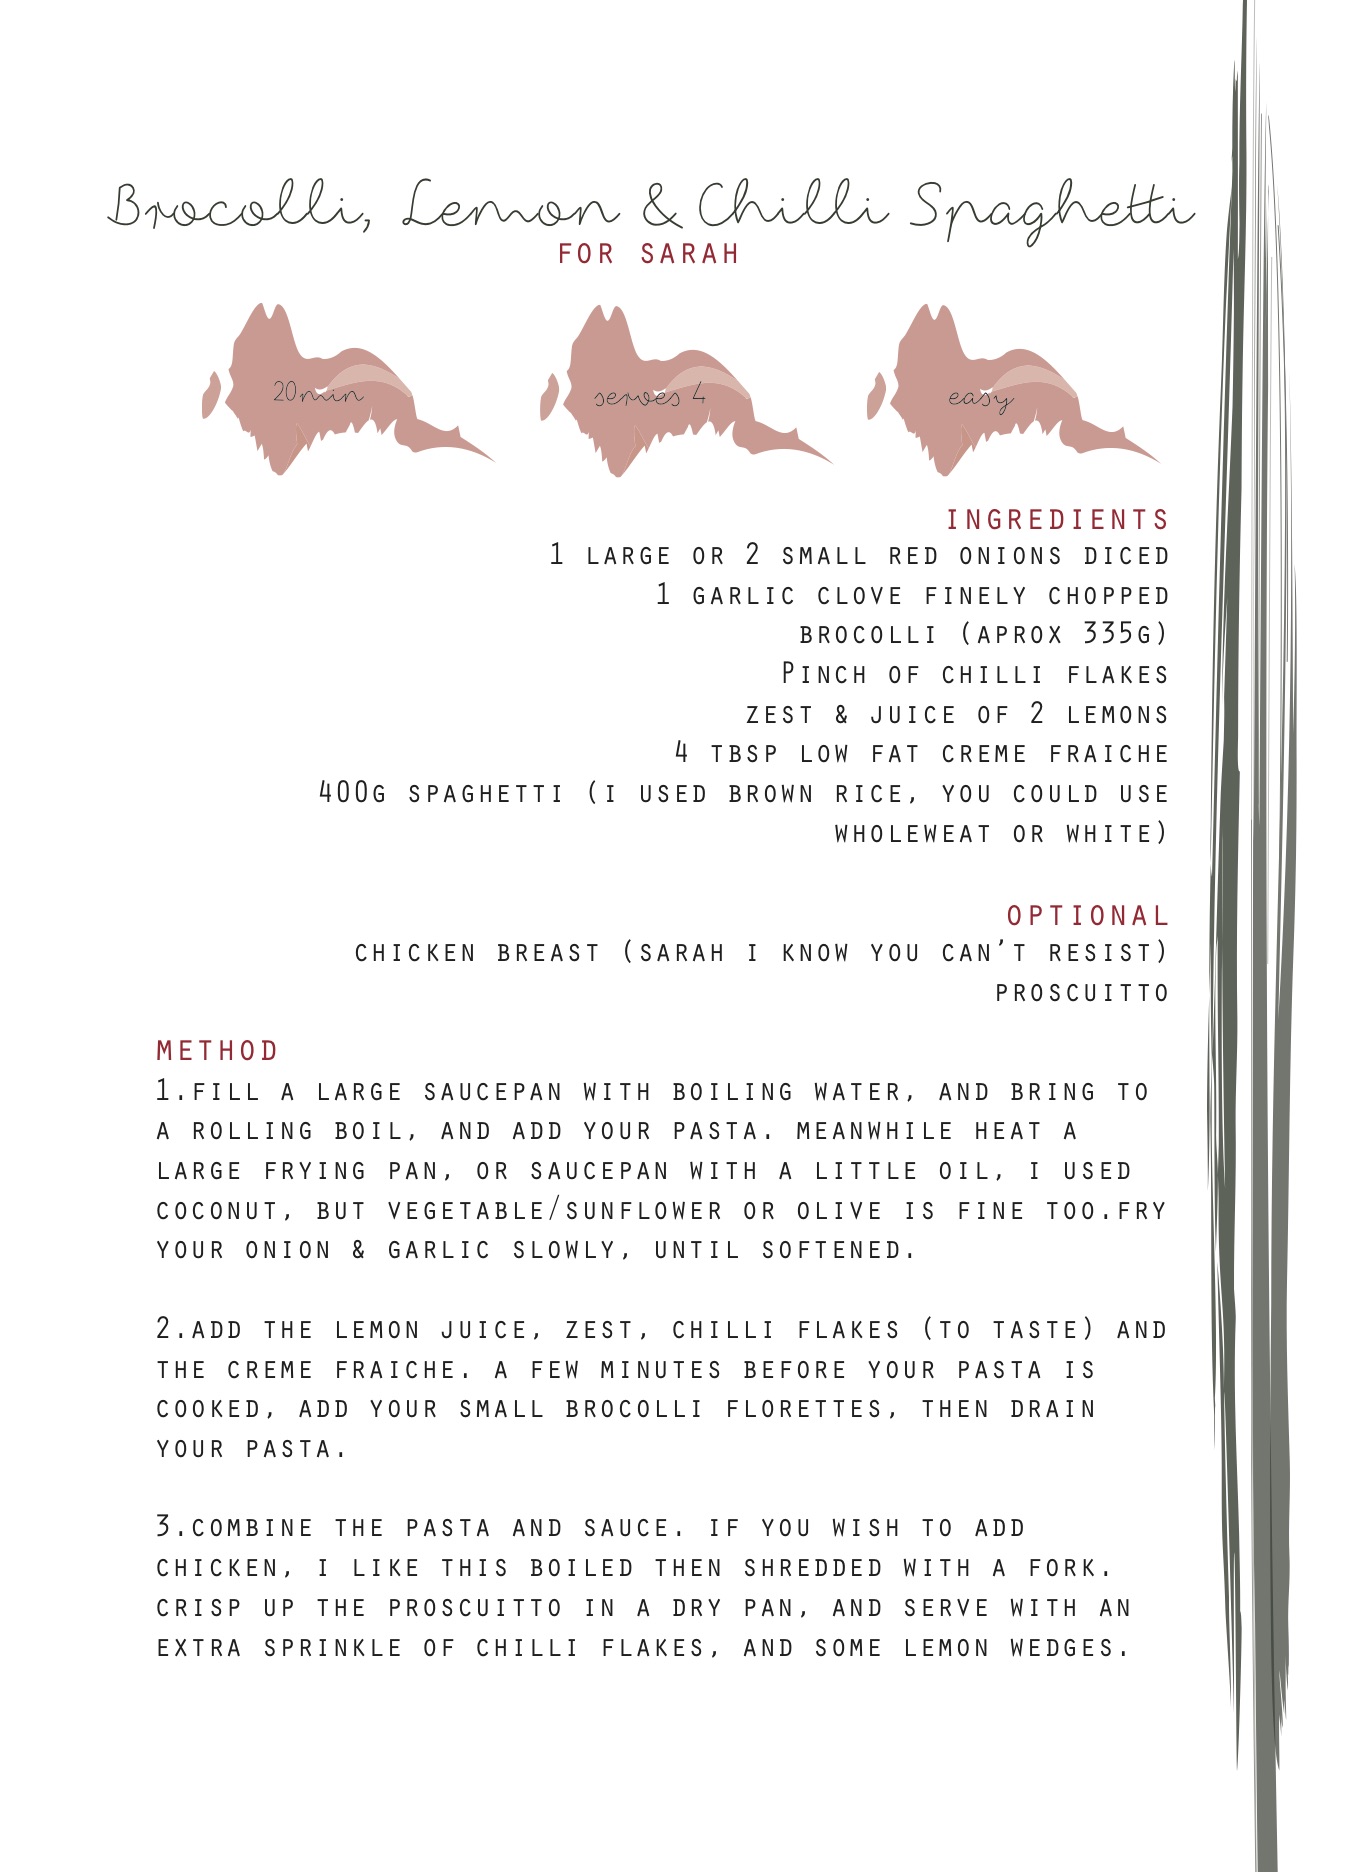
Serves 3-4

Difficulty Easy

Time 20 Minutes

Ingredients

1 x 400g tin puy lentils, drained and rinsed.

100g Feta cheese, diced.

Aprox. 200g cooked beetroot (I used the pre-cooked vacuum packed ones from Sainsbury’s, I used 2 of the 3 in the pack).

2 tbsp Olive oil.

3 tbsp cider vinegar or balsamic – just use what you’ve got.

A sprig of mint leaves, finely chopped.

1/2 Red Pepper, diced.

A handful of good quality cherry tomatoes. I used Pomodorino.

Squeeze of Lemon

Salt & Pepper.

Method

  1. In a jar, or cup whisk together your oil, vinegar, and a squeeze of lemon.

2. In a bowl, add the rinsed lentils, the diced feta, and pepper. Dice the beetroot, and halve the tomatoes and add these to the bowl. Add the mint. Stir your dressing before adding to the bowl. Season to taste, but remember the feta is quite salty so err on the side of caution.

3. Leave in the fridge for about 20 minutes to half an hour to allow the flavours to develop.

4. Pour into a serving dish, and serve to friends and family. So easy can I even call it a recipe?!

Next week (if i’m not flat out by then) will be a not so healthy chocolate truffle recipe. Perfect for gifts to friends, who for me definitely deserved them for listening to my recent wobbles.

Wish me luck for the next week, stay tuned…

A girl with an appetite for all things creative,

Maria x

Sarah’s Broccoli, Chilli & Lemon Pasta

Food, Photography, Recipes

Hello lovely readers,

First of all I’d like to thank everyone for their kind responses to last weeks post. I am aiming to be more open and honest on this blog, and just be me, as that’s what it’s all about right? This was the first time I received so many comments from people that actually know me in person, and it was so lovely to know that I have your support and to all the graduates out their, knowing we are in the same boat is tough, and like Daisy said, it’s like being in the middle of a stormy ocean, which is on fire haha but I promise you if we stick it out we will get to where we want to be! So thank you, I’m more positive this week and know that good things will come.

A quote springs to mind of a card I have siting in a frame in my room that my best friend Ally gave me, it says “She waited patiently until happiness surrounded her and good luck lay in piles at her feet. Help yourself she said kindly, good things come to those who wait.”

Last weekend as you know I decided to go and visit my friend Daisy in Nottingham, and I had a lovely time. It was just what I needed to get away from the stress, clear my head and come back to London fighting. It was certainly filled with food & alcohol, so this weeks recipe is a lighter one. On the saturday, we went for lunch at The Pudding Pantry, and then out for dinner to Annie’s a burger joint, then out for cocktails. Sunday we went to the Nottingham Food Festival at Wollaton.We were extremely lucky with the weather and saw John Whaite, and Lisa Faulkner do a cookery demonstration, ate lots of lovely food including BBQ slow cooked brisket, pulled pork, mac and cheese, and churros, washed down with some Pimm’s! This week I have been applying for jobs & internships, keeping fit to burn off all those calories and keeping positive.

As promised, this weeks recipe is inspired by one of my close friends, Sarah. Through university, particularly in our third year we shared a love of healthy, tasty and experimental dishes. I taught her a few things, as did she, and we also learnt that you can’t make icing for chocolate protein cookies from hot chocolate powder, out of date margarine, milk and water. It doesn’t work, don’t even try it. Ha! Sarah is one of those people who has such a positive outlook on life, really wants the best for herself, and others. She really drives me, and understands my ambitions and helps me to be the best I can. She constantly shares these posts to her friends and circles, and for that I am extremely grateful, so without further ado, here is the recipe…

Recipe Card Final

To keep up to date with my foodie adventures and the occasional selfie please follow my instagram @mariablackstone and for pointless tweets follow me on twitter @mariablackstone (obviously extremely original on the user name front).

I hope you like this recipe, its light and fairly healthy with the half fat creme fraiche, and brown pasta. I couldn’t resist a bit of naughty bacon, plus it looks nice. It makes a change from my love of everything indulgent, and I sure do need it after the weekend I’ve had. If you have any ideas for future recipes, please do drop me a message! I am off out to Prezzo’s tonight for dinner with the girls and will then be back on my job applications at full speed!

Speak to you all next week,

A girl with an appetite for all things creative,

Maria x

Vanilla Pannacotta & Summer Berry Compote

Food, Recipes

Hello Readers,

So I’ve had a pretty tough week, and am generally quite scared to be telling the world this, as I tend to just keep everything bottled up and it well and truly popped its cork the other day. So please be kind, as I’m not sure about this.

I’m finding this whole graduate life pretty tough. We all get spat out the education system, without actually having much knowledge about the real world in my opinion, I got a 1st but don’t feel I actually know a lot haha! I’m not getting anywhere with job applications which is truly depressing, and I’m getting tired of having no routine. I’d like to think I’m good with change, but this whole transition period is not cool!

Moaning aside, (apologies for being so negative) I know something will come along which is meant to be for me. I decided I needed a bit of time away to clear my head, so booked some train tickets to Nottingham to see my partner in crime Daisy, who I will totally design a Nutella based recipe for soon. Watch this space Daisy. This girl is the one person that can relate to me and I’m sure she is pretty bored of my moaning, so I’m sorry for that haha but you’ll just have to put up with me. We are filling the weekend with what we do best, eating. Pancakes & bacon will be in order, along with a green smoothie, and then the hard choice of where to go for dinner, topped of with some cocktails. Sunday we are going to a food festival at Wollaton, seeing people like John Waite, Lisa Faulkner & Sat Baines, I’m excited about this and will keep you all posted about my adventure! Hopefully this will be a well needed trip away to smile again! Sadly, I didn’t get the job at Sipsmith, but I know I’m not the right person for the job, and they enjoyed my application so onto the next one, its all about learning and interview experience (right?!). I’m trying to stay positive, which is quite ironic as its currently pouring with rain, haha!

Enough of that, here is my recipe for vanilla and mascarpone pannacotta with a summer berry compote. Is it obvious that I love mascarpone yet? I could literally eat the stuff out the tub with a spoon. The smooth creamy mix complements the sharp/sweet berries so well and the deep purple colour contrasts with the pillowy white pannacotta. I used a mix of blackcurrants, raspberries, red currants and gooseberries, but it was a punnet of mixed berries which came in our Abel & Cole box, so frozen summer fruits would work well! Simply use whatever you have – be it strawberries, blueberries or raspberries, just experiment! I designed another recipe card, not as pleased with this one but I will keep working on them, I am really trying to push and challenge myself with this blog, and am loving it so far.

Pannacotta Recipe

A lovely rich, smooth and creamy dessert, perfect to enjoy with friends at the  weekend, or enjoy indulgently on your own, remember that there are no calories at the weekend (tiny fib)! Next week a slightly healthier recipe, a broccoli, lemon and chilli pasta recipe designed with my lovely friend Sarah in mind, This ones for you.

I’ll speak to you next week, hopefully with a smile on my face,

A girl with an appetite for all things creative,

Maria x

Gin, Tonic & Elderflower Sorbet

Food, Photography, Recipes

Hi Everyone,

So like every graduate I have been thrown out of the education system, into the big wide world, and am now on the search for a job. With job applications come rejections and me feeling like I need a drink. So what better way than combining the job application process with alcohol. No really, this recipe was actually thought up for a job application, promise!

It was for a job application for an award winning, London based company called Sipsmith who make gin and other spirits. I had to create something for a designer role that showed why I am perfect for the job. I wanted to think a little out the box, and decided to do what I do best and create a recipe card. So instead of me typing out the recipe, I am going to show you all my design. Of course you can use any gin you have and for the elderflower I used Belvoir Elderflower Cordial. Fingers crossed I get the job, and if not I had a fun time making the recipe, and the design so it was worth it regardless. (I say this as I’m trying to be positive, but lets face it, nobody likes rejection).

Let me know if you like this idea, as I will continue to design recipe cards that you can all print and add to your collections!

Recipe Card

The perfect recipe for all the adults to enjoy, on a hot summers day – perfect for this heatwave that is meant to be coming our way! Let me know what you think, and if you have any ideas that you want me to try out then send them my way!

A girl with an appetite for all things creative,

Maria x

Berry, Custard & Mascarpone Tart

Baking, Food, Recipes

Hello readers,

I am starting to get a handle on my job lists, after having parties and a trip to the Isle of Wight. I see a lot of you liked my Amaretto Gelato post last week, and next week I’ll have another alcoholic ice for you adults to enjoy (sorry kids!) but here’s a recipe you can all enjoy… a beautiful berry tart, perfect for using our beautiful British berries, that you may have picked yourself, with children or bought from the market or supermarket.

This weekend just gone, after getting back from a completely over indulgent trip to the Isle of Wight (what Grandma’s do best) I threw a small Barbecue to celebrate my sisters results from University. She got a 2.1 and I am so so proud of her, as along with studying, she worked full time, kept up a flat, found time for the gym and socialising with friends. There was about 10 of us, and we had a BBQ with the usual stuff, and then this tart, the biggest trifle you’ve probably ever seen and a surprise peanut butter and chocolate cake, which would have remained secret had my sister not gone in the garage! I had an amazing time with friends, food and drinks and we were also spoilt rotten. We each received a beautiful bunch of flowers, a Links of London Graduation charm, a Spa Weekend and £100. Thanks Mum & Dad! I may post up the recipe for the cake soon!

Berry, Custard & Mascarpone Tart

Ingredients

Pastry

225g/8oz Plain Flour

113g/4oz Lard

113g/4oz Butter

50ml (aprox.) Water

Custard (I only used half of this mixture, but why not use the rest in homemade ice-cream, or with sponge pudding. You can use all of it for a more custardy taste, or fill the extra tartlets with this mix and top with fruit)

300 ml Milk

2 Eggs + 1 Yolk

1 Vanilla Pod (or 1 tsp paste/extract)

90g Sugar

50g Cornflour

75g Butter, diced

1 Tub of Mascarpone

Assortment of Berries I used a 400g tub of Strawberries, and a mixed berry pack from Sainsbury’s (raspberries, strawberries and blueberries)

Method

1. Start by making the pastry. In a food processor (or by hand)blitz/rub together the flour and fats until breadcrumb consistency, then add the water until a dough forms, you may not need all the water, likewise you may need a little more, I’ll leave this up to you! Once combined, tip on to a surface, form a ball, flatten and wrap in clingfilm and leave to rest and chill.

2. Once chilled, roll out the pastry. Lightly flour the rolling pin and surface and roll out the pastry to a few mm thick. You want it as thin as you can make it, for a nice crisp result. I used an oblong tin, but a round one is fine. Roll the pastry onto the rolling pin and place carefully in your flan tin. Press the pastry into the edges using a wooden spoon handle, or your fingers being careful not to rip your base. Don’t worry if you do, just patch it up with some spare pastry. With any left over trimmings, you can make some mini jam tarts, or tartlet shells to fill with left over custard. Place the flan tin back in the fridge to relax, while you make the custard and remember not to trim the pastry right to the edge as otherwise it will shrink back.

3. To make the custard, place the milk, and split vanilla pod (scraping out all the lovely seeds) in a saucepan and bring to a gentle boil. In another bowl whisk together the eggs, sugar and cornflour until smooth and creamy. Once the milk has come to the boil, leave to infuse for ten minutes.

4. Brink the milk back up to the boil, then whisk into the egg mixture. Return back to the saucepan and whisk continually until boiling, and really thick. Then add the diced butter and whisk in until melted and smooth. Place in a bowl, and top the surface with clingfilm (ensuring its in contact) to stop a film forming. Leave to cool then refrigerate.

5. While the custard is chilling, preheat the oven to 180c fan/200c, fill the pastry case with parchment, and baking beans/rice/pulses and blind bake for 10-15 minutes. After this time remove the paper & beans and trim down your pastry if you so wish. Return to the oven and bake for another ten or so minutes until the pastry is nice and golden. Leave to cool.

6. When ready to assemble, mix half the custard with the mascarpone, you may want to use an electric whisk to get a really smooth consistency or just use some muscle and burn the extra calories. Spoon in the tart and smooth evenly over the pastry – don’t worry about this looking neat as you are going to pile it with berries.

7. Add your berries, I chopped the strawberries in halves and quarters for the bottom and added the raspberries and blueberries! This creative bit is up to you! Which is why I love to cook. Make it your own!

Keep your eyes peeled for next weeks post, a refreshing G&T sorbet! Time for me to go back to the job hunt! Wish me luck!

A girl with an appetite for all things creative,

Maria x

Amaretto Gelato

Food, Photography, Recipes

Hello lovely readers,

I hope you are all enjoying your summer, even if the weather is temperamental! Today I have a lovely recipe for you on a lovely summer day, or something to enjoy to remind you of the sun even if it isn’t out haha!

I use my vanilla base recipe from an ICES book that I have, for the smoothest vanilla ice-cream, and this recipe was simply one of my experiments, as we tend to have affogato a lot in our house, so this recipe was an extension of this.

Affogato Dessert

A couple of scoops of vanilla ice-cream (homemade or good quality shop bought)

Sprinkle over some crushed amaretti biscuits (crunchy or soft)

Pour over some freshly brewed coffee, or instant if thats all you have

If you’re feeling naughty why not add a splash of your favourite liquor – frangelico, or amaretto would work well.

IMG_1134

So this recipe I’m posting today is simply a combination of the liquor and biscuits, that would be lovely served with coffee, as an ice-cream float or simply on its own!

For best results you’ll need an ice cream maker for this, to get a really smooth luxurious ice-cream, but failing this whisk the double cream before combining with the custard – this will ensure the mixture is thicker. Then pour the mixture into a tub, freeze and hand churn by removing the ice-cream at regular intervals and whisking up to remove any ice crystals, continue this until fully frozen – this may result in a less smooth gelato.

Ingredients

300ml Milk

100g Granulated Sugar

3 Egg Yolks

1tsp Vanilla Bean Paste/Extract or 1 Vanilla Pod

Aprox. 284ml Double Cream (I used Elmlea)

100ml Amaretto Liquor, I used Disarrano

A few handfuls of crushed Amaretti biscuits (crunchy)

Method

1. Combine the milk, vanilla and half the sugar in a saucepan and bring to just below boiling point. Remove the pan from the heat, and set aside for about 15 minutes to infuse the vanilla into the milk.

2. In a heatproof bowl, whisk together the egg yolks with the rest of the sugar and beat until thick and pale. It’s best to use an electric whisk for this, but if you don’t have one just use a little elbow grease – think of all the calories you’ll save, ha!

3. Bring the milk back to the boil, then slowly pour the milk into the egg mixture, ensuring to whisk steadily as the milk is added – we don’t want to end up with scrambled eggs.

4. This bowl can either be placed over a bowl of simmering water, or you can return the custard to the saucepan. If you are going to use the second option, ensure the pan is on a heat diffuser and use a thermometer to ensure you do not overheat the custard. Use a wooden spoon, or spatula to continually stir the custard untill it reaches 85 degrees c, or is thicker in consistency. It should coat the back of the spoon, and hold its shape when you run your finger through it.

5. Once cooled, mix in the double cream and liquor.

6. Pour into your ice cream maker, and once thickened, add in your crushed amaretti biscuits. Continue to churn until thick as possible.

7. Pour into a freezable tub, and top with a few more roughly crushed biscuits. Freeze until ready to serve.

This recipe is quite simple, when you follow the steps, what you’ll have at the end of it is an incredibly rich and smooth ice-cream like you’d get in those fancy pots from the supermarket, or at a counter in Italy, but it always tastes better when you make it yourself don’t you think?

Stay tuned for some more lovely recipes! I’m in the Isle of Wight this week, visiting my grandma, but will be back creating and posting recipes next week!

A girl with an appetite for all things creative,

Maria x

Dips. Dips. Dips.

Food, Photography, Recipes

As promised a recipe or three that I’ve had stored in my mind (and notes on my phone) for a while now. I really should get a recipe book to write down all these things. There’s something about paper and handwriting I like, seeing as all is digital these days. How old do I sound, like my mum. Sorry mum. But it’s true, nothing beats a piece of paper and a pen.

These recipes are perfect for the summer days which we all long for. Great accompaniments to our love of BBQ’s. A pineapple Salsa – inspired by a dish from my favourite Thai restaurant, an aubergine dip – made by my mother, and beetroot hummus – which to tell you the truth was a bit of an experiment. They are quick, require little skill, equipments and ingredients but will jazz up your barbecues a treat.

Pineapple Salsa

This salsa reminds me of one of my favourite dishes from a local thai restaurant. It is a pineapple, chicken and prawn salad served in the pineapple. This was my take on this, so would be perfect with chicken, or prawns or served over a simple salad.

Ingredients

1/2 Ripe & Juicy Pineapple

1 Red Chilli

Small Handful of Mint Leaves

Zest and Juice of 1 Lime

1tbsp caster sugar (or to taste)

Handful of Cashew Nuts, chopped and toasted

Method

1. Simple peel, and chop the pineapple into small chunks. Finely chop the mint leaves. Finely dice the chilli.

2. Add the pineapple, mint, lime and cashew nuts into a bowl. Add chilli to taste depending on how hot you like it and add the sugar to taste. The sugar removes the sharpness. It helps to leave the salsa to marinate for around half an hour or more to let the flavours infuse.

3. Place in your serving dish, and sprinkle with more nuts, chilli and mint.

Beetroot Hummus

This was a bit of an experiment to tell the truth, I love beetroot, and love hummus but was bored of the plain hummus I tend to have quite often. This dip has quite an earthy taste, one which not everyone may like. It is perfect with fish such as mackerel, or simply served with some seedy crisp breads.

Ingredients

380g Tin/Carton of Chickpeas, drained and rinsed

2tbsp Lemon Juice

1tbsp Horseradish sauce

2 Large beetroots cooked and peeled and roughly chopped

Method

Place all the ingredients in a food processor and blitz until as smooth as you like it. Season to taste, and add more lemon/horseradish dependent on how you like it! Simple!

Aubergine Dip

This was something my mum whipped up with a left over aubergine knocking about in the fridge. Super tasty and perfect served with warm flatbreads as a little appetiser.

Ingredients

1 Aubergine

Tbsp cream cheese or total greek yoghurt

Juice and Zest of a small Lemon

Method

1. Cut the aubergine in half lengthways, and drizzle with a little oil, roast in the oven at 200c for about 40 minutes until soft. Turn off the oven and leave to cool.

2. Scoop out the flesh and blend in a processor with the remaining ingredients. Season with salt and pepper to taste.

3. Serve with some warm flatbreads, and some other chargrilled vegetables.

Coming soon… another summer inspired post!

A girl with an appetite for all things creative,

Maria x

Simple Supper

Food, Recipes

Hi all,

Just a quick,  recipe for you this week which requires minimal effort for a simple, yet tasty midweek meal – gammon with roasted new potatoes, roasted tomatoes and a mustard sauce. The sharp, juicy roasted tomatoes cuts through the creamy mustard sauce, and salty gammon.

Serves 4

Ingredients

4 Gammon Steaks – I used smoked, rindless

700g (aprox.) New Potatoes – I used taste the difference vivaldi, jersey royal would be nice too.

150ml Creme Fraiche

100ml Double Cream

2tsp Whole Grain Mustard

270g pack (aprox.) Cherry Tomatoes on the Vine

Method

1. Preheat oven to 200c/180c fan and put your potatoes in a roasting tray with a drizzle of oil to coat – I used coconut oil, as I find they go lovely and soft on the inside and crispy on the outside but any cooking oil you have will do. Sprinkle with sea salt and roast in the oven for about 45 minutes until soft, and golden. Alternatively, you could boil your new potatoes and serve with a little knob of butter for a lighter alternative.

2. When the potatoes have been in for about 25 minutes, place your tomatoes in another oven proof dish, with a drizzle of oil and a sprinkle of salt and roast these for the remaining 20 minutes.

3. Mix together the creme fraiche, cream and mustard and heat on a low heat until warm in a saucepan. You don’t have to have creme fraiche if you don’t have any – I just had some in the fridge that needed using up! Keep warm until serving.

4. Heat a large frying pan, add a drizzle of oil and fry your gammon steaks for around 8 minutes, until golden and cooked. Alternatively you could grill to avoid using excess oil. At this point cook your asparagus – boil or steam. You could serve this with any veg of your choice. Green beans, or baby carrots would work well too!

5. Plate up – place a puddle of sauce on the plate, add the potatoes, gammon steak and top with the roasted tomatoes and asparagus, or veg of your choosing. Pour over any remaining sauce and enjoy!

Hope you enjoy this speedy, simple supper as much as I did! Stay tuned for next weeks post where I will be showing you a variety of dips to try out! Perfect for summer barbecues!

Enjoy, and stay tuned for next weeks recipe!

A girl with an appetite for all things creative,

Maria x

Strawberry & Passionfruit Marshmallows

Food, Recipes

To tell you the truth, i’m not really a marshmallow lover, however I wanted to take a stab at making them, and one of the trainers in the gym loves them, which meant I was winning, I got to have a go and didn’t consume the calories ( I had one or two, guilty!)

I used passion fruit essence for a strong tropical taste, and freeze dried strawberry powder. They were intensley fruity, with a pillowy, mallowy inside. This was just one experiment with regards to flavour combination, however you could experiment with your own. There are tons of different essences/extracts on the market and different freeze dried fruits etc. Check out the Meringue Girls for some flavour inspo!

Ingredients

455g/1 lb granulated sugar

1 tbsp liquid glucose

9 sheets of gelatine

2 egg whites

Icing sugar Cornflour

1/2tsp Passion Fruit Essence – I used one by Foodie Flavours

6-8tbsp Freeze dried Strawberry Powder – I used diced strawberry, and used the milling blade on my nutribullet to turn it into a powder. This way you can use it for decoration too!

Method

1. In a heavy based saucepan, bring to the boil the sugar, liquid glucose and 200ml of water. Continue cooking until the syrup reaches 127c/260F on a sugar thermometer.

2. Meanwhile, soak the gelatin leaves in 140ml of water.

3. Whisk the egg whites until stiff. When the syrup reaches temperature, add the gelatin leaves and the water it was soaking in. Be careful, as it will bubble up and will be extremely hot! This is definitley one for the adults, kiddies – stay well away!

4. Continue to beat the egg whites, whilst slowly pouring in the syrup – you can pour it into a metal jug if it is easier for you. The mixture will become glossy and start to thicken. Add the passionfruit extract.

5. Whisk for around ten minutes, or until the mixture has thickened, and can hold its shape on the whisk. Fold in the strawberry powder here. The mixture will now be a really light pastel pink shade.

6. Lightly oil, and dust a 20 by 30cm (aprox.) baking tray with a mix of icing sugar and cornflour. Pour in your marshamallow mixture, level off and top with some more strawberry pieces if you like.

IMG_0888

7. Leave for an hour to set, dust your worksurface using some more cornflour and icing sugar, turn out onto the surface and cut the marshmallow into your desired sized cubes. I cut the block into about 8 by 6 giving me around 48 pieces. Roll these in a bit of the icing sugar mix to dry up the exposed, gooey edges.

8. Serve with melted chocolate, or on their own.

Enjoy, and stay tuned for next weeks recipe!

A girl with an appetite for all things creative, Maria x

Wimbledon Strawberry & Lime Tarts

Baking, Food, Recipes

Wimbledon Tennis commences on the 29th June, and is one of the sports I love to watch, it reminds me of summer and I always admire the players’ strength and determination – they are the only person responsible for their win and I think that takes a lot of mental strength let alone the physical strength. I have always been pants at sport so I admire most sports men and women to be honest with you (also a bit jealous).

When I think of Wimbledon, I think of tennis, and strawberries, so I thought up a little creative recipe, which takes a little time and care but is well worth it. These little tarts would be perfect to pack up for a picnic to eat on Murray Mount/Henman Hill, or to have with afternoon tea whilst you celebrate the final with friends & family, although let’s be honest you don’t really need the tennis to enjoy these tarts, because they are simply divine all on their own. The lime in the strawberries makes these tarts really refreshing and cuts through the rich creamy custard, and crumbly pastry. The perfect mouthful (or three).

Ingredients

Pastry

200g Plain Flour

1 tbsp Icing Sugar

50g Lard, Diced

50g Butter, Diced

1/2-1 Medium Egg, Beaten

Strawberry Base

400g Strawberries, washed and diced

Zest and Juice of Half a Lime

1 tbsp Caster Sugar

Custard Topping

300ml Milk

1 Vanilla Pod/1tsp of Vanilla paste/Extract

2 Large Eggs plus 1 Egg Yolk

50g Cornflour

75g Soft Unsalted Butter, Diced

Jelly Top

1 Pack of Lime Jelly

1/2 Pint of Water

3-4 cubes of melted white chocolate

Method

You can make the jelly, custard and pastry cases the day before, and assemble when needed.

Start by making the jelly

1. Melt the jelly cubes with a bit of water in a microwave, then top up with water to create 1/2 pint of liquid.

2. Line a tin with clingfilm roughly 20  by 20 cm (but this is just a guide) then pour in the jelly mix so its roughly 1/2 cm thick. Leave this in the fridge to set.

Pastry

1. In a food processor blend together the ingredients, minus the egg to form a breadcrumb like texture, add the egg bit by bit until the mixture comes together to form a dough. Be careful not to over mix, as this will activate the gluten giving you a tough pastry. If you do not have a food processor, you can rub together the flour, sugar and fats with your finger tips, then add in the egg and knead together.

2. Wrap in cling film and leave to chill for about half an hour to allow the dough to relax.

3. Once its chilled, you can start to roll out the pastry, I do this between two sheets of clingfilm which allievates the need for extra flour and it makes much less mess. I used a 24 hole (4.5cm) petit four tin, but if you dont have this you could simply make your tarts a little bigger. Try and roll the pastry as thin as you can, it requires a delicate hand, and some patience (as I discovered) as the dough is quite fragile, but the end result is so short and delicious, almost like shortbread. I used a 7cm cutter to do this, and trimmed the edges, with a smaller cutter to neaten – this is optional, but remember to not trim too much as the pastry can shrink.

4. Fill the pastry cases with squares of non-stick paper, and fill with baking beans/rice/dried pulses and refridgerate again to rest before baking for about 15-20 minutes. At this point preheat your oven to 200c/180c fan.

Tarts

5. Bake in the oven for about 15 minutes, then remove the paper and baking beans, you can brush the insides with a little egg white left from the custard filling but this is optional. Return to the oven for another 5 minutes, until golden brown, as Mary Berry would say, we don’t want any soggy bottoms.

6. Leave to cool fully in the tin before carefully transferring to a wire rack.

Whilst the pastry is relaxing you can start the custard filling (créme mousseline)

Custard Filling

1. Bring the milk & vanilla pod just to the boil, then remove from the heat and allow to infuse for ten minutes.

2. Meanwhile, whisk together the sugar, eggs, egg yolk, and cornflour until smooth and creamy.

3. Remove the vanilla pod from the milk, then pour through a sieve onto the egg mixture, whisking well.

4. Pour this mixture back into the washed saucepan and set over a medium-low heat and stir constantly to ensure that lumps don’t form. Do this until the mixture boils and thickens – this should take about four minutes. The mixture should be thick enough to pipe. Stir in the butter whilst still warm.

5. Transfer to a bowl, and cover the custard directly (so that it touches the custard) with clingfilm, to stop a skin forming, leave to cool then refridgerate until needed.

Strawberries

1. In a bowl, add the diced strawberries, lime zest and juice and sugar, stir and refridgerate until needed. With the other half of the lime why not make my Green Twister  Smoothie.

Assembly

Now all of the constituent parts are ready, comes the fun bit – the assembly.

1. Simply take half a teaspoon of the strawberries and fill each tart case – the strawberries would have created some liquid, try and avoid filling the cases with lots of liquid as the pastry will go soggy.

2. Pipe over the top the custard filling, you may want to give it a beat to loosen it after its firmed up in the refrigerator. If you don’t have a piping bag, you can use a teaspoon and spoon a bit in each one to fill the cases nearly to the top.

3. I then cut the jelly using a 3.5cm cutter and piped on a swirl of white chocolate, and topped the tarts with this. This bit is optional, but completes the tennis theme.

There you have it, 24 delicous tarts – don’t worry if some break, mine did too – just use the bits of pastry with some of the left over custard and call it cooks perks! I know this recipe is quite long, and contains a few different parts, but I promise you these are well worth the effort!

Let me know what you think, I hope you enjoy them as much as I, and my family did.

A girl with an appetite for all things creative,

Maria x